Work for the creation of our track began as soon as i had received the track concept from Tim and Pat, you can see it below, it has been colour-coded to reflect the parts of the track that were to be repeated:
I will start by saying that despite the planned method of creating the track by 'piecing together' various segments, time constraints meant that i decided to create it as a single mesh in 3DSMax, with the option to break it up if time allowed. Once finished i would simply import it into Unity along with a collision mesh.
So i decided the best way to create the track layout would be to take the concept into Max and use it as a template to effectively trace over it by extruding a plane.
It's my understanding that you can extrude along a path in some 3D modelling programs so i searched for a method to do just that. I discovered that there was a function to do just that.
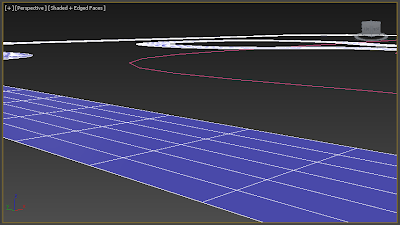
I was required to create a spline in the shape of the track which i did by simply copying from the concept above:
After doing so, i proceeded to test out the 'extrude along spline' function. After encountering bizarre warping, extra geometry and various other problems i was able to reach the point where i had a cube extruded along the spline:
All that was left to do was remove the extra geometry (i only needed the flat surface to be taken into Unity) followed by the creation of the collision mesh, and finally, texturing.
 |
| Before and After of the 'trimming' of the track mesh. |
|
Having done this i simply proceeded to duplicate the track mesh which was then altered (by a simple edge extrusion) to have vertical planes. These planes would make up the invisible wall of the track, and in it's complete form, this mesh would be the collision model for the track.
At this point i decided to export the mesh into Unity to test how well it transferred. The result: not very well, i found the scale to be far from what would be required (though admittedly this was expected), the normals appeared to be reversed and overall the models didn't seem to be rendering properly. Thankfully after attempting to correct these issues (namely modifying the normals of the meshes) and reimporting the meshes into unity i found everything worked perfectly!
After this i went back and altered the track mesh to better represent a sandy rally track, as well as adding some more varied terrain for the track itself, to keep it interesting.
Note: Having made the sloped hairpin manually i then discovered the 'Soft Selection Tool', which may well have helped me accomplish this task far, far more easily. Still, at least it came in handy when i had to go back and remove the tracks 'bumpiness', another feature I'd added manually but which wreaked havoc with the car in game.
After more time than i would like to admit spent adjusting the geometry i had reached a point i was happy with. Texturing the mesh in Unity was a very simple process as the mesh comes with a 'Texture' component pre-assigned, all i needed to do was import the image below and adjust its tiling to a satisfactory level.
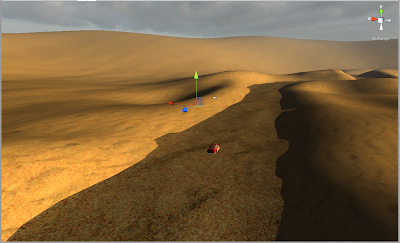
The next step was to build the desert terrain around the track, and not having done it before i did of course check the Unity Documentation for a guide. After looking through that i began by creating a 3000x3000 unit terrain.
As i understand it, terrains are simply canvasses upon which you paint the hills, cliffs and even foliage that your environment needs. Given the desert setting of our track i simply began using the softest brush to create some smooth mounds around the track, my intention was to have the terrain overlap the track at the edges to blend the two together.
I feel i may have missed the mark on the scale of the track so far, but for now it will suffice. Next up: Texturing the terrain!
This was an incredibly simple process, i took the sand texture i had used for the road into Photoshop and lightened it so it would be differentiable from the track, then to my surprise rather than having to paint the terrain as I'd expected, i simply had to assign the texture and it was on. The only qualm i had was that i couldn't scale the texture, but i found that it just made the track easier to differentiate and didn't affect the over all look.
Finally, whilst making some adjustments to the terrain i added a lake at the center of the banked hairpin or 'carousel' as it is called by us. I did this simply by maneuvering the water mesh (a remnant from the original Car Tutorial) in to place, i believe it will help keep the environment interesting.
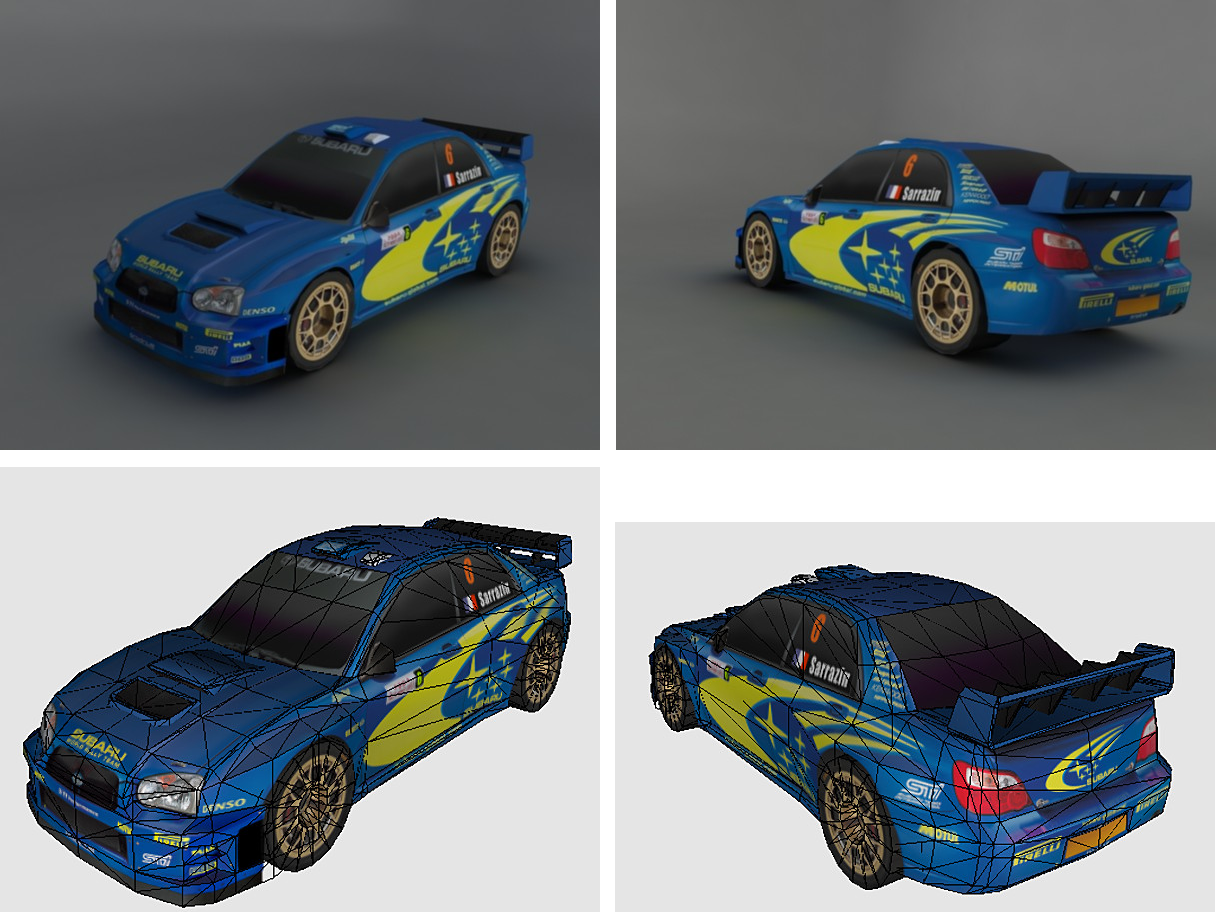
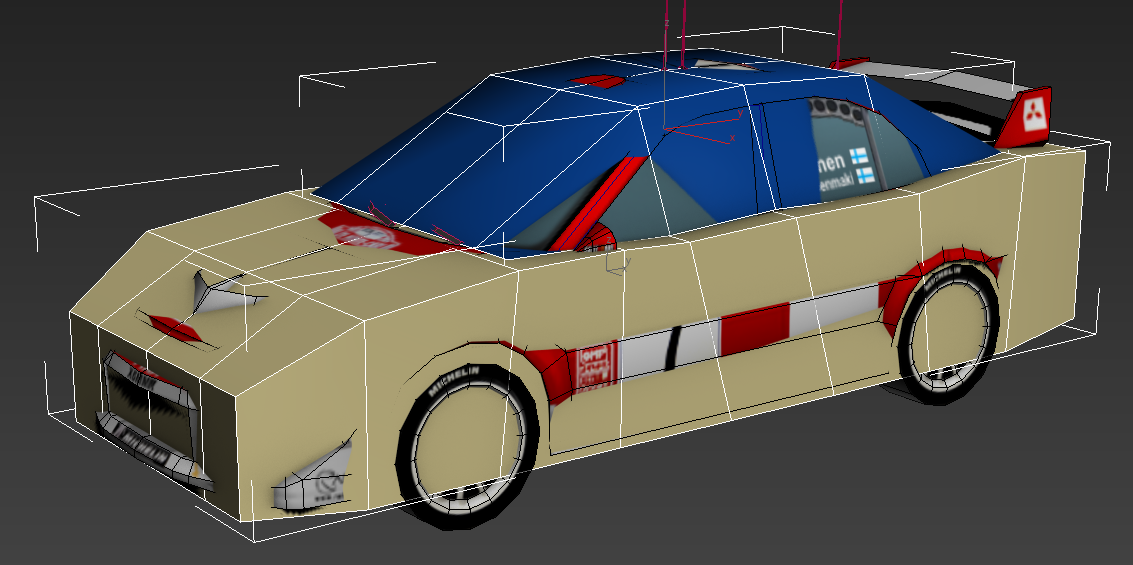
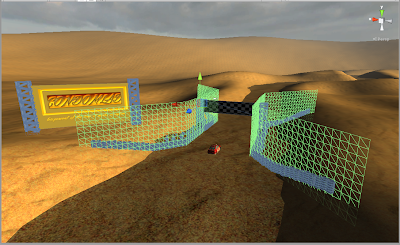
At this point i simply had to obtain the models created by my teammates Pat and Tim. These models are as follows:
- Start/Finish line banner
- Checkpoint banner
- Billboard
- 7 Variations of individual crowd models
- Speaker
- Desert Grass
- Cactus
- Rock
- Palm Tree
Above you can see shots of all the models after they'd been successfully imported into Unity along with their textures, there was some rescaling that needed doing, as you can see from the second of the two images.
The first thing i did was create a nice start line scene:
 |
| How it looked before |
 |
| Afterwards |
Note in the second picture that i have added simple Unity planes as collision meshes for the tyre walls, as this brings me on to my next task.
Given that i didn't want to have a massive tyre wall construction akin to the start line at every checkpoint i decided i would simply place the mesh in the middle of the track and create collision meshes for the posts that support the banners.
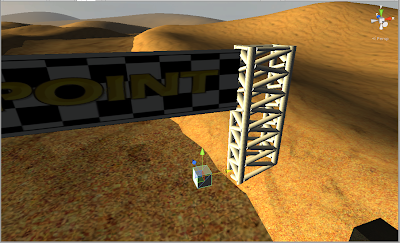 |
| Firstly, i created a Cube. |
|
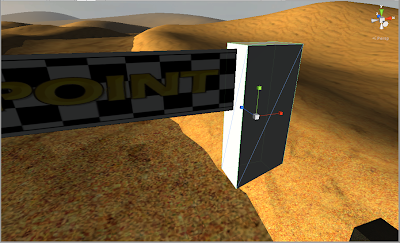 |
| I scaled it to match the post. |
 |
| Then i deleted the mesh rendering components, leaving just the collision component. |
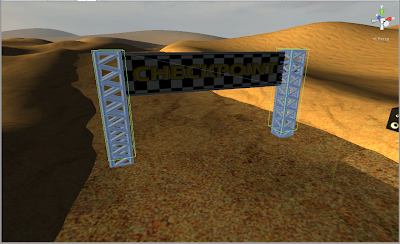 |
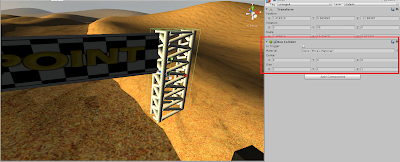
| I duplicated the cube to the other side and (after rescaling the model) it was done! |
The next step was to take this model and duplicate it for placement around the tracks course, not having had the checkpoint locations specified that placement was left up to me. Given the nature of the arcade racing game and it being all about making it to that next checkpoint, i decided to make them as sparse as reasonably possible, with long stretches between them.
From these pics you can see i ended up only having 3 checkpoints on the track, and even then i thought they might be a bit too close together... The fourth "checkpoint" you might be able to see in these images is actually the start/finish line.
Next up came placement of the environmental models, so the trees, cacti and the desert grass.
I started by focussing on the lake I'd placed in the center of the carousel, this area would be the only place in which the palm trees would be found. Now, I am aware of the ability for trees to be 'painted' on to a terrain in Unity, but i found that this was unsuitable for my needs as there was no variation in the rotation of said trees when i painted them on, if i even managed to do that. I decided it would be quicker to place the palm tree models myself.
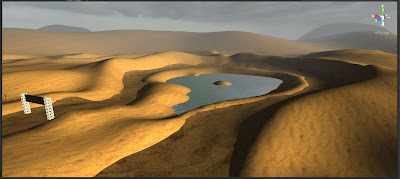 |
| Before. |
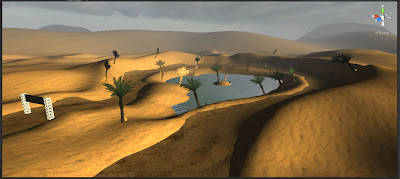 |
| After. |
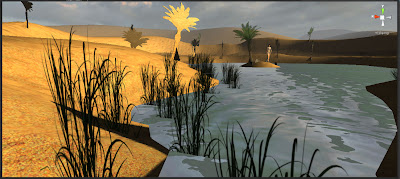 |
| Close up of the desert grass as it has a short draw distance. |
I did however use the tree paint function to place some desert grass around the edge of the lake as it wouldn't really be too noticeable, and there were far too many models that would need to be placed manually otherwise.
On top of this i created a small island scene in the center of the lake, a cliché tableau made comical by the fact that the spectator model in question is a coursemate of ours who is most definitely not a bikini wearing female!
To make decorating the track a little easier i decided to create prop model 'clusters' that i could duplicate around the track.
I started by creating some spectator clusters, each of which consist of the seven spectator models arranged in various orders and positions, i ended up with 6 in total.
Together with the tyre wall model, i created several different 'spectator spots' along the track, a couple of these required me to create extra collision meshes as i did with the start line setup.
After this i moved on to the creation of cacti clusters. I decided to leave the desert grass out as it looked most at home around the lake (and it would have taken a monumental amount of time even to cluster them.)
And here they are, only 3 of them, but i knew that would be enough.
I proceeded to take these clusters and dot them around the environment.
Having done this i found myself with nothing left to do. I had finished our track! Admittedly there was no game logic at this point but the track could be driven round and it looked great!!
I achieved a lot during this time such as learning to use the terrain tool in Unity, creating and importing a track mesh from scratch, and creating something in accordance with a vision set out by a group. Tim and Pat were both very pleased with the finished artifact, as was I.